Now that Google’s putting the pressure on moving everyone to SSL, it’s time for you to do so as well. These days, most hosting providers are giving out free HTTPS certificates and have teamed up with “Let’s Encrypt” so that all domains and subdomains can implement SSL. In this tutorial, I’ll show you how to do this using the cPanel Let’s Encrypt plugin.
Table of Contents
Assumptions Before we Start
- You’re Using cPanel
- Your hosting provider has the “Let’s Encrypt” cPanel plugin
- Your hosting provider also manages your DNS records
If someone else maintains your DNS records, then this method won’t work. Allow your web host to manage your DNS entries and you’re good to go!
For this tutorial, I’m going to enable HTTPS on my other website. Here’s a screenshot of how it currently is NOT secure:
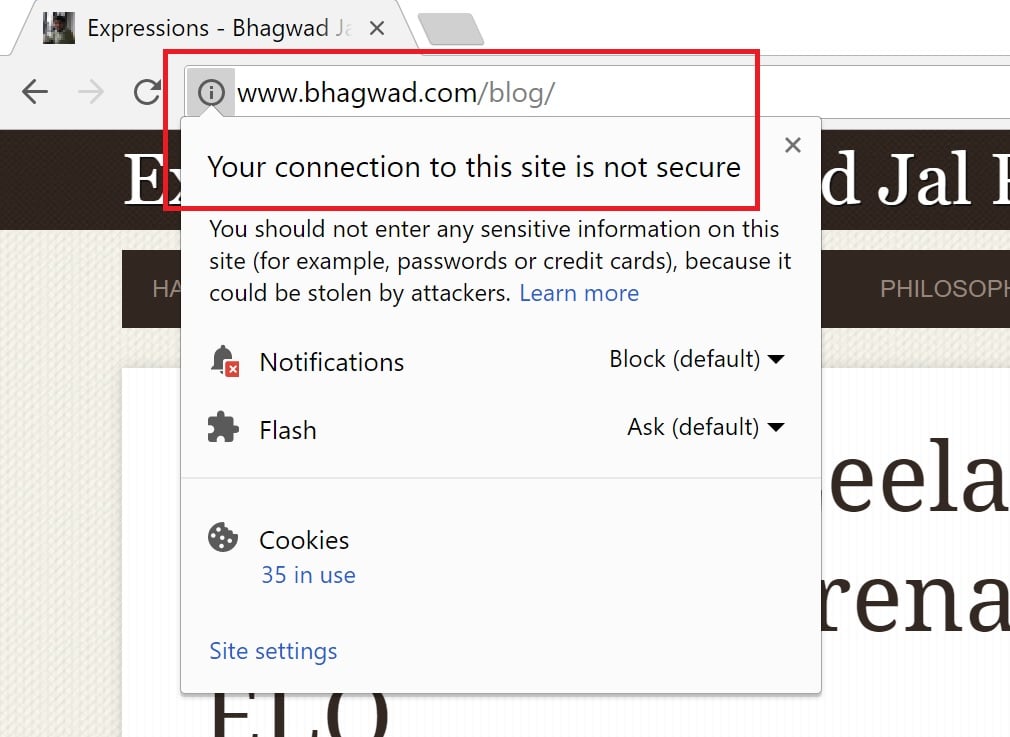
Right now, my site doesn’t work over HTTPS. By the end of this tutorial, that will change!
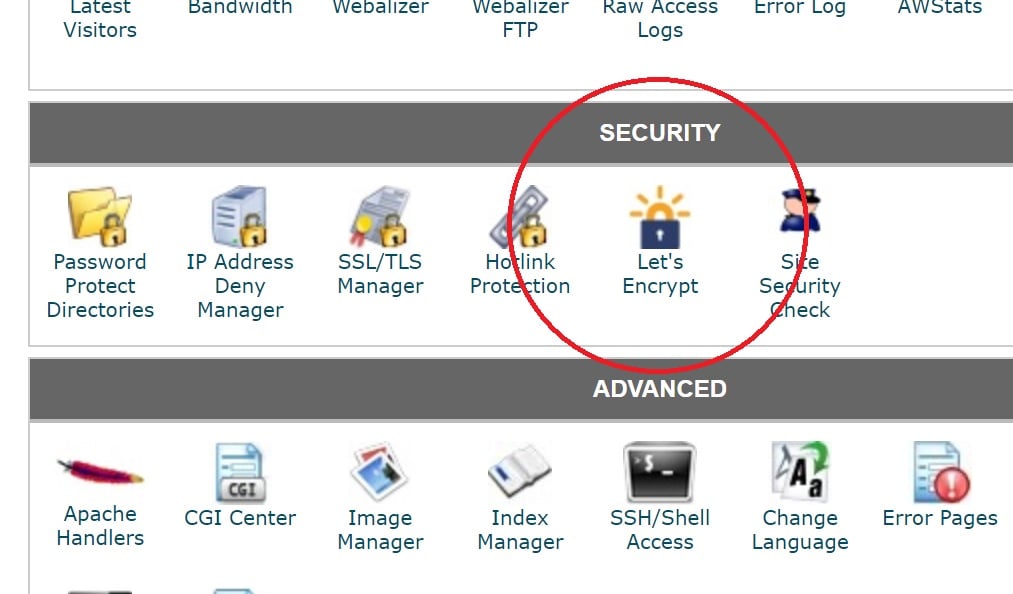
Step 1: Locate the Let’s Encrypt Icon in cPanel
When you log into your cPanel, scroll down to the “Security” section to find the “Let’s Encrypt” icon as shown here:
Step 2: Generate the Wildcard Certificate in cPanel using “Let’s Encrypt”
Clicking this will show you the list of sites hosted on your account. I already have SSL enabled for this site – wp-tweaks.com. But the other one is still insecure:
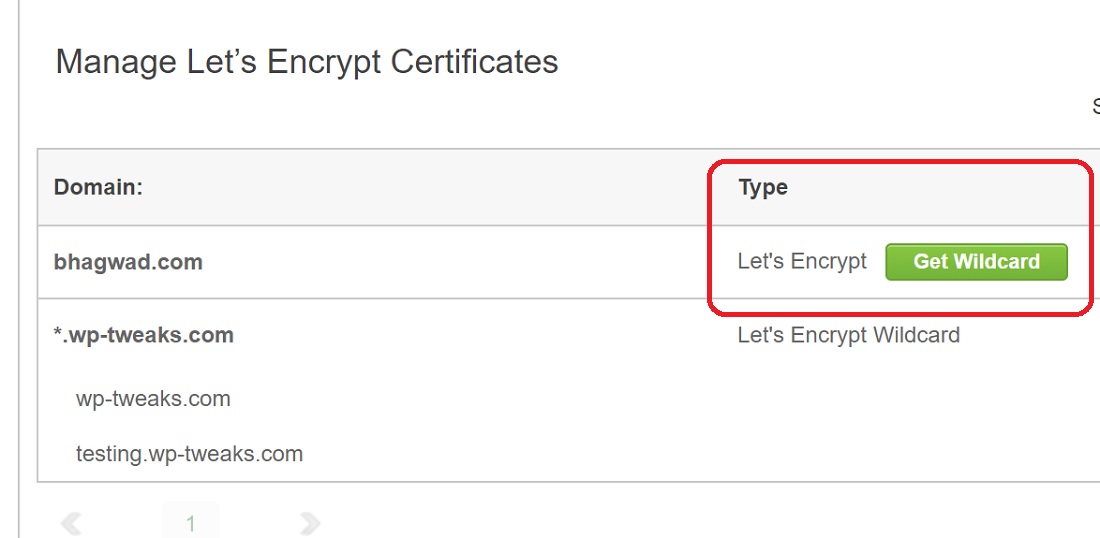
Since January 2018, Let’s Encrypt started issuing “Wildcard” SSL certificates. These certificates secure not just your root domain, but an unlimited number of sub-domains as well. So it’s extremely cost-effective! So search for the domain you want to secure and click the “Get Wildcard” button in green as shown above.
cPanel will ask you to confirm this. Click “Confirm”:
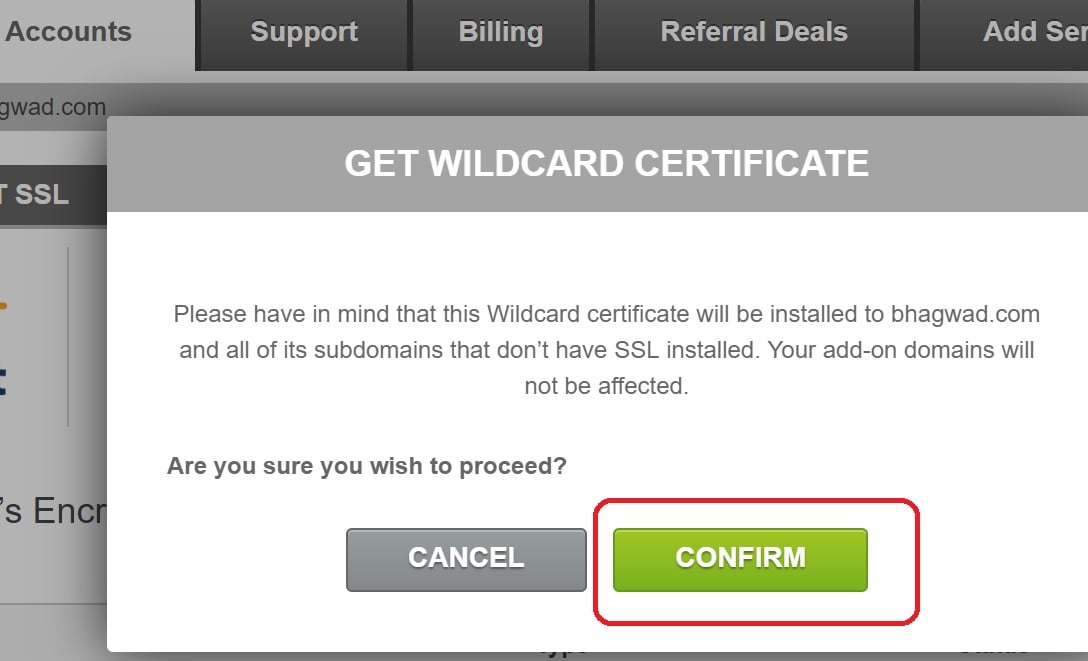
Let’s go through the setup process and finally generate a Wildcard certificate for your domain. You’ll get a confirmation message:
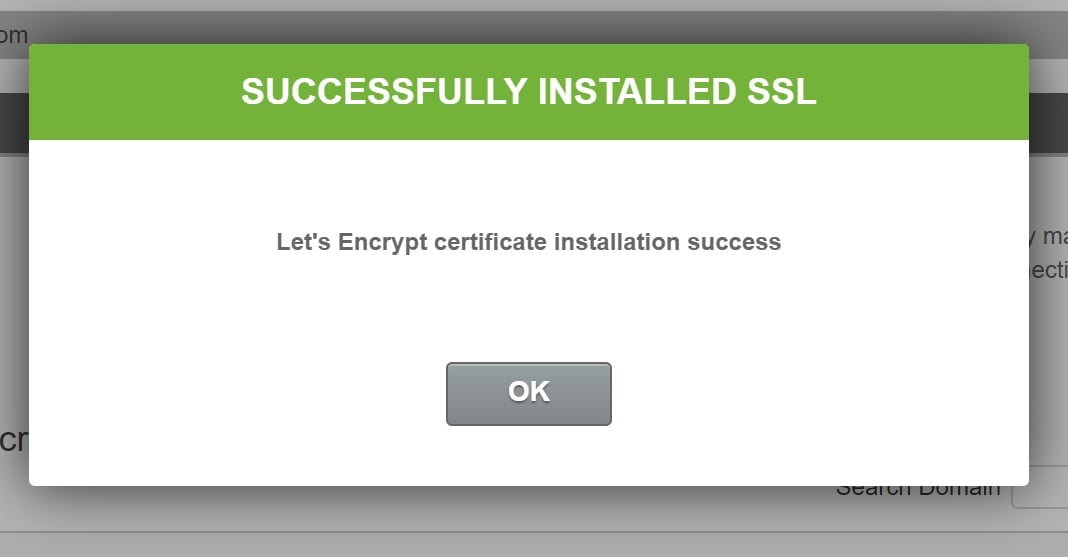
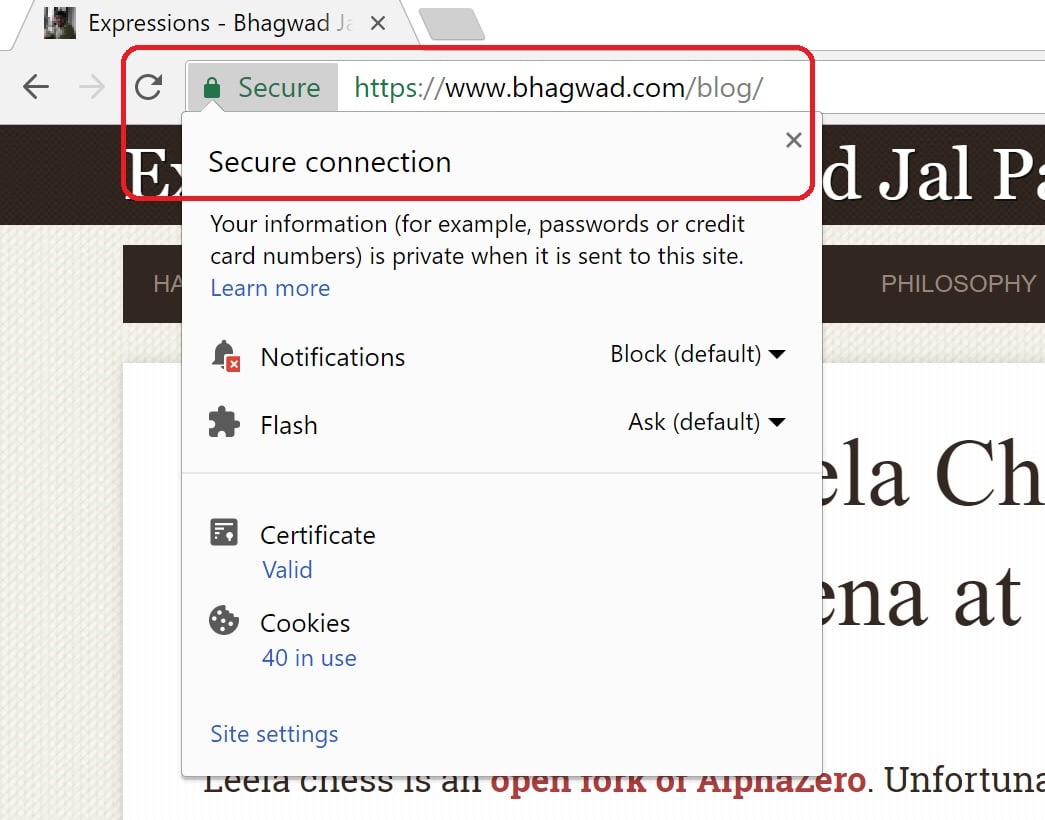
This should mean that you can now access your site through HTTPS with a valid SSL certificate. Congratulations! You can see that my site now works with HTTPS:
Step 3: Enforce HTTP for All Requests
However, we haven’t finished yet. Just because we can reach our site via HTTPS, doesn’t mean that all requests are automatically HTTPS! You probably have a lot of backlinks still point to the old HTTP site. Also, many of your users will continue to type in the regular domain name into their address bars, which will lead them to the insecure, vanilla HTTP version.
What we need to do is force all HTTP requests to the site to automatically reroute to HTTPS instead. Luckily, we can do this easily using the same cPanel Let’s Encrypt plugin.
Warning: Before you do this, make sure there’s no plugin or .htaccess rule that forces all requests to be plain HTTP. Otherwise, you’ll end up in an infinite redirect loop as the two rules conflict with each other and send all HTTPS traffic to HTTP and vice-versa!
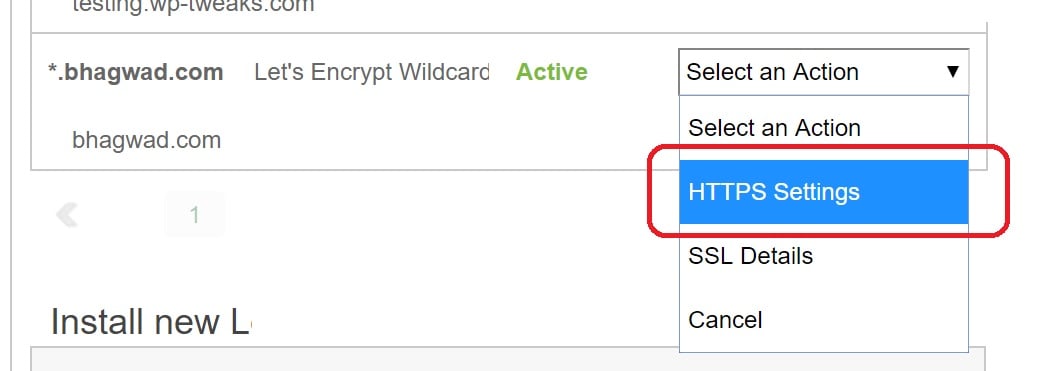
To force all requests to your page to use HTTPS, go to your site on the same page and click the “HTTPS Settings” option from the dropdown box provided:
Here, enable the “HTTPS Enforce” button and turn it to “on”.
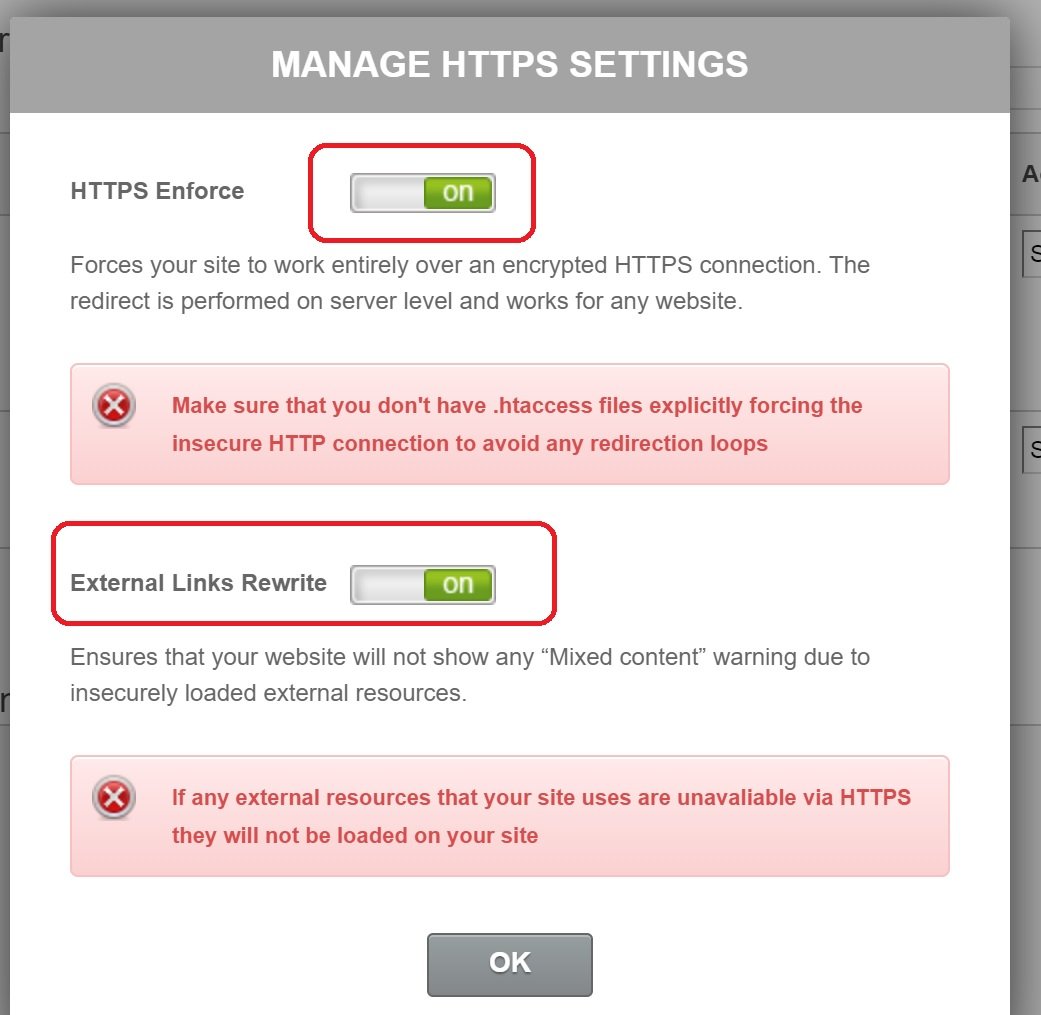
The next step is to ensure that all external requests that your site makes go to “HTTPS” URLs instead of “HTTP” ones. So let’s say your stylesheet refers to some external CSS resource with an HTTP URL. The second “External Links Rewrite” option will convert all these outgoing links into secure HTTPS instead. This will ensure that you don’t get the dreaded “mixed content” error message that will result in an invalid SSL status and scare your users.
If the resource you’re linking to doesn’t have an HTTPS-enabled URL, then it won’t be downloaded. This is unfortunate, but there’s no getting around it. All requests from an SSL secure site have to be secure as well. Without that, the entire page will be labeled as insecure.
Step 4: Localize all Content that Doesn’t have an HTTPS url
In the previous step, if you have some external links that can’t be served over HTTPS, the best option is to download them and host them on your own site. Then go to where they’re referenced, and change the URLs to point to your location with HTTPS instead.
This might be insufficient if the code you’re changing is a plugin or theme that’s maintained by someone else since the next update will just revert the URLs to insecure HTTP. But there’s no other workaround. You either need to ditch the plugin/theme altogether, or never update it, or commit to making the changes each time it updates (a bad idea!).
So that’s all you need to know about installing your certificate via cPanel through the Let’s Encrypt plugin. From start to finish, it shouldn’t take you more than a few minutes!

Speak Your Mind